Protect your microVM with Cloudflare Access
Protect a nibrun app with your team's Cloudflare login and let MCP clients sign in through the same Access policy.
View markdownSay your binary serves an internal dashboard at ops.example.com and an MCP endpoint
at /mcp. You want teammates to use both with the account they already have at work.
Cloudflare Access can handle sign-in for both. nibrun checks each HTTP request before
it reaches your app, so you can keep running the same binary.
Set up the hostname in Cloudflare
Use a custom hostname in your own Cloudflare account, such as ops.example.com.
nibrun manages the nibrun.app zone, so your Cloudflare account can't put a login page
on my-app.nibrun.app. Attach your custom hostname to the app in nibrun and enable
the proxy on its CNAME in Cloudflare DNS so requests pass through your Access policy.
For this setup, the Cloudflare account that manages your domain must be separate
from the one that manages nibrun.app. When both zones share an account, Cloudflare
skips Access for the SaaS custom hostname even with the proxy enabled.
Cloudflare's custom hostname requirements
In Cloudflare Zero Trust, open Access controls → Applications and add a
Self-hosted application. Enter the full hostname, such as ops.example.com, and
leave the path empty to cover both the dashboard and /mcp. Add an Allow policy
for the teammates who should have access. Save the application and copy its
Application Audience (AUD) Tag. Cloudflare's self-hosted application guide
Before enabling JWT verification in nibrun, open the custom hostname in a private browser window. You should see the Cloudflare Access sign-in page.
Connect the policy to your microVM
Open your app in the nibrun dashboard and choose Update. Expand HTTP access,
select Cloudflare Access, and enter your Team domain (for example,
acme.cloudflareaccess.com) and the Application audience (AUD) you just copied.
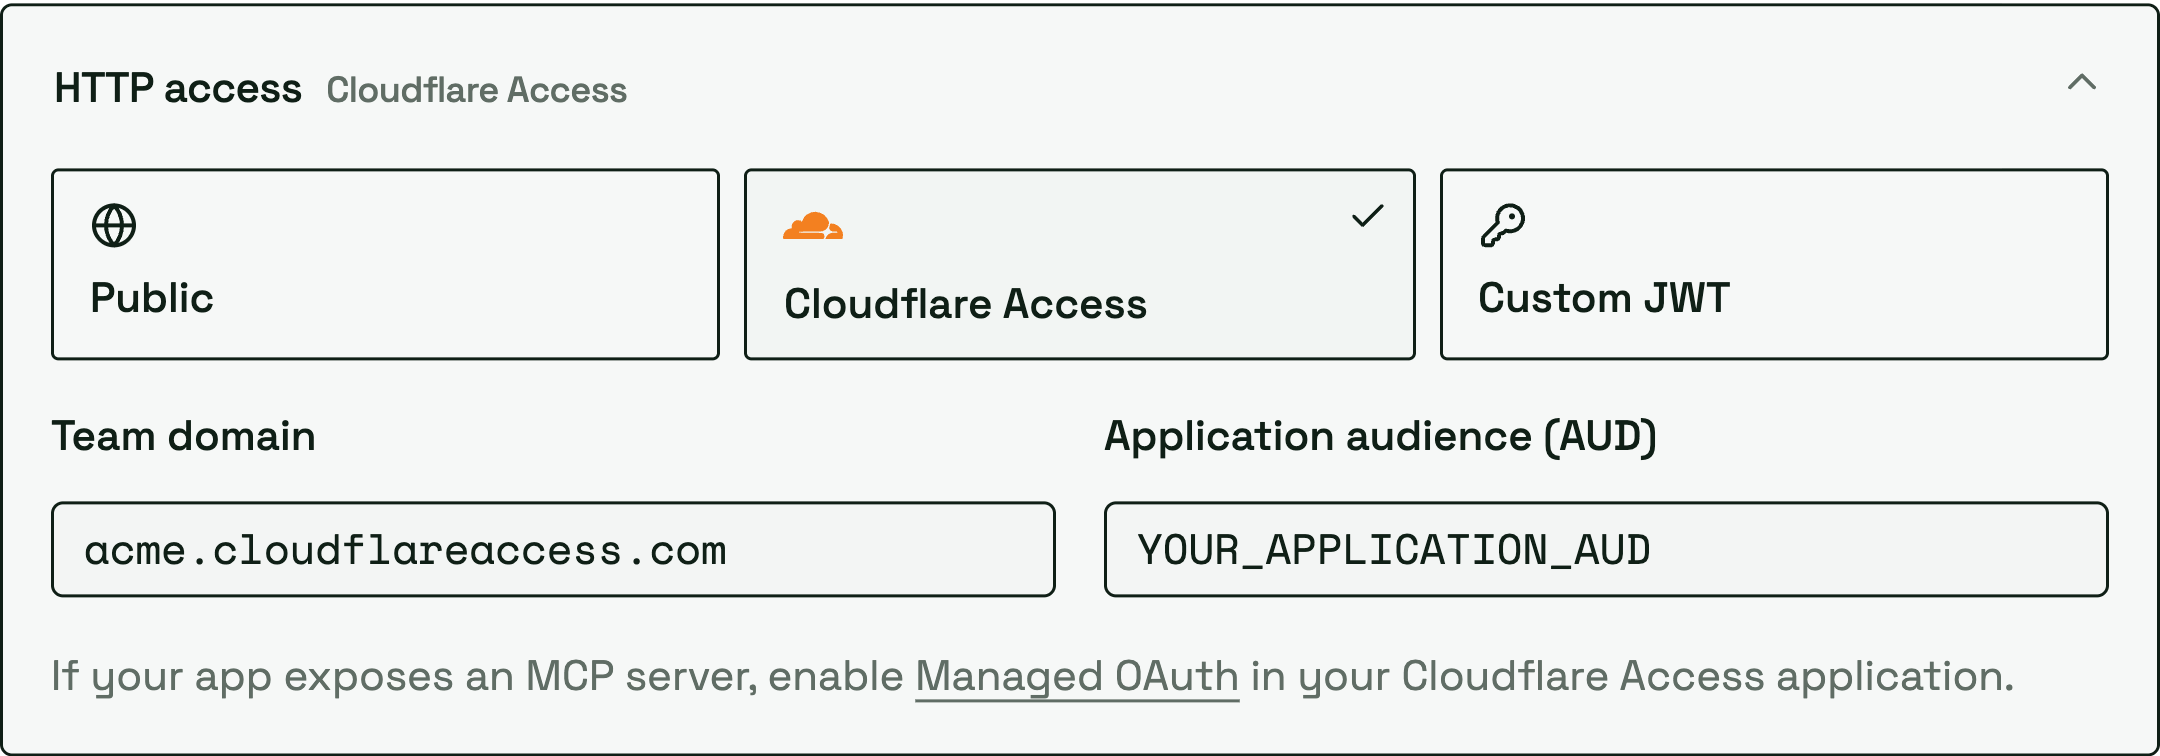
Submit the deployment. nibrun reuses your binary and applies the policy when the deployment goes live. Open your custom hostname in a private browser window and sign in as an allowed teammate. Then try the app's default nibrun URL in a fresh private window. nibrun enforces the same policy on every HTTP hostname, so it denies that request unless it carries a valid Access assertion for this app.
Connect an MCP client
If Cloudflare will handle sign-in for your MCP server, open the same Access application
and turn on Managed OAuth under Advanced settings. Allow your client's redirect
URI and save. Point an MCP client that supports OAuth resource indicators (RFC 8707)
at https://ops.example.com/mcp. It opens your browser for sign-in and then uses its
access token to call the server. Cloudflare's Managed OAuth guide
For both the browser and the MCP client, Cloudflare sends a signed JWT in
Cf-Access-Jwt-Assertion. nibrun verifies the signature, issuer and audience,
then forwards the assertion to your app. Your binary can read it when it needs to
know which teammate made the request.
Use another JWT provider
You can also protect my-app.nibrun.app directly with HTTP access → Custom JWT.
Enter your provider's issuer, the audience your app accepts, and the public HTTPS URL
of its signing keys (JWKS). For an API client that sends Authorization: Bearer <JWT>,
keep the default token header and format. If an authentication proxy supplies the
signed JWT in a different header, select that header and the matching format.